Tag Archive for: blog

Under The Floor

What is lurking under those floorboards ? Ask a robot –

All sorts of nasty surprises may lurk beneath the floor boarding! Wood boring insects, dry rot, wet rot and vermin infestations for example. The spaces underneath the ground floor of properties are  rarely accessible. However, some houses we visit will have loose floorboards which we can lift, normally beneath the stairs. Sometimes behind the front door is a hatch, often secured by just a few screws.This gives access to the stopcock which is often located inside the front door and also to the space below the floorboards.

How can technology help?

At Domestic Surveys we are always experimenting to see how technology can deliver a better survey for our clients.While all the time staying within the price constraints we set for a pre-purchase inspection report. We were the first in the South West  to use the pole camera on every building survey and have been doing so since 2012.

Endoscopes are useful but have physical limitations. We used these for some time as this video from 2013 shows.  This video has had well over 2000 views since being published! We were pushing the boundaries of what we could offer during a full building survey.It’s very difficult trying to hold the endoscope in position for a long period of time whilst using the camera. Definitely not easy with only two hands! Also you need to know where you are in relation to the camera. You have to manoeuvre the flexible neck upwards to look at the underside of the floorboards for example. Lying in the stress position operating this is physically demanding!  Especially after you’veclambered around the loft, hoisted the mast camera, done damp testing, asbestos sampling and tested the glazing.  Certainly a good physical work out!

And now? A robot !

We wanted something small enough to allow us to inspect the undersides of floorboards for wood worm, the size of the floor joists, the damp proofing and ventilation arrangements. We’ve been experimenting with remote control vehicles that are low profile enough to slip into these voids, carrying a camera. We then found this Bluetooth controlled vehicle with profile of around 100mm which can fit between the floor joists in shallow voids. It has tracks so it can rotate on the spot and also it can look up and down.  If it gets lost, it can even find its own way back!

As always, the skill is not in capturing the image but in being able to analyse what the image represents. This may include distinguishing woodworm flight holes from say mouse droppings as they are the same size. Or rot mycelium from timber decay, compared to say cobwebs – another challenge that this technology represents. Getting the images is becoming simpler but analysing the image incorrectly can be a costly mistake.

Take a look

You can see this amazing piece of technology in action here: https://youtu.be/pIxYgFsJZOg

We do not do this as standard, YET! We are trying to perfect utilising it but no doubt this will form part of our future offering.  Or on special request if you have a specific floor defect that you wish us to look at…


Pitched Roof Structures


Pitched Roof Structures

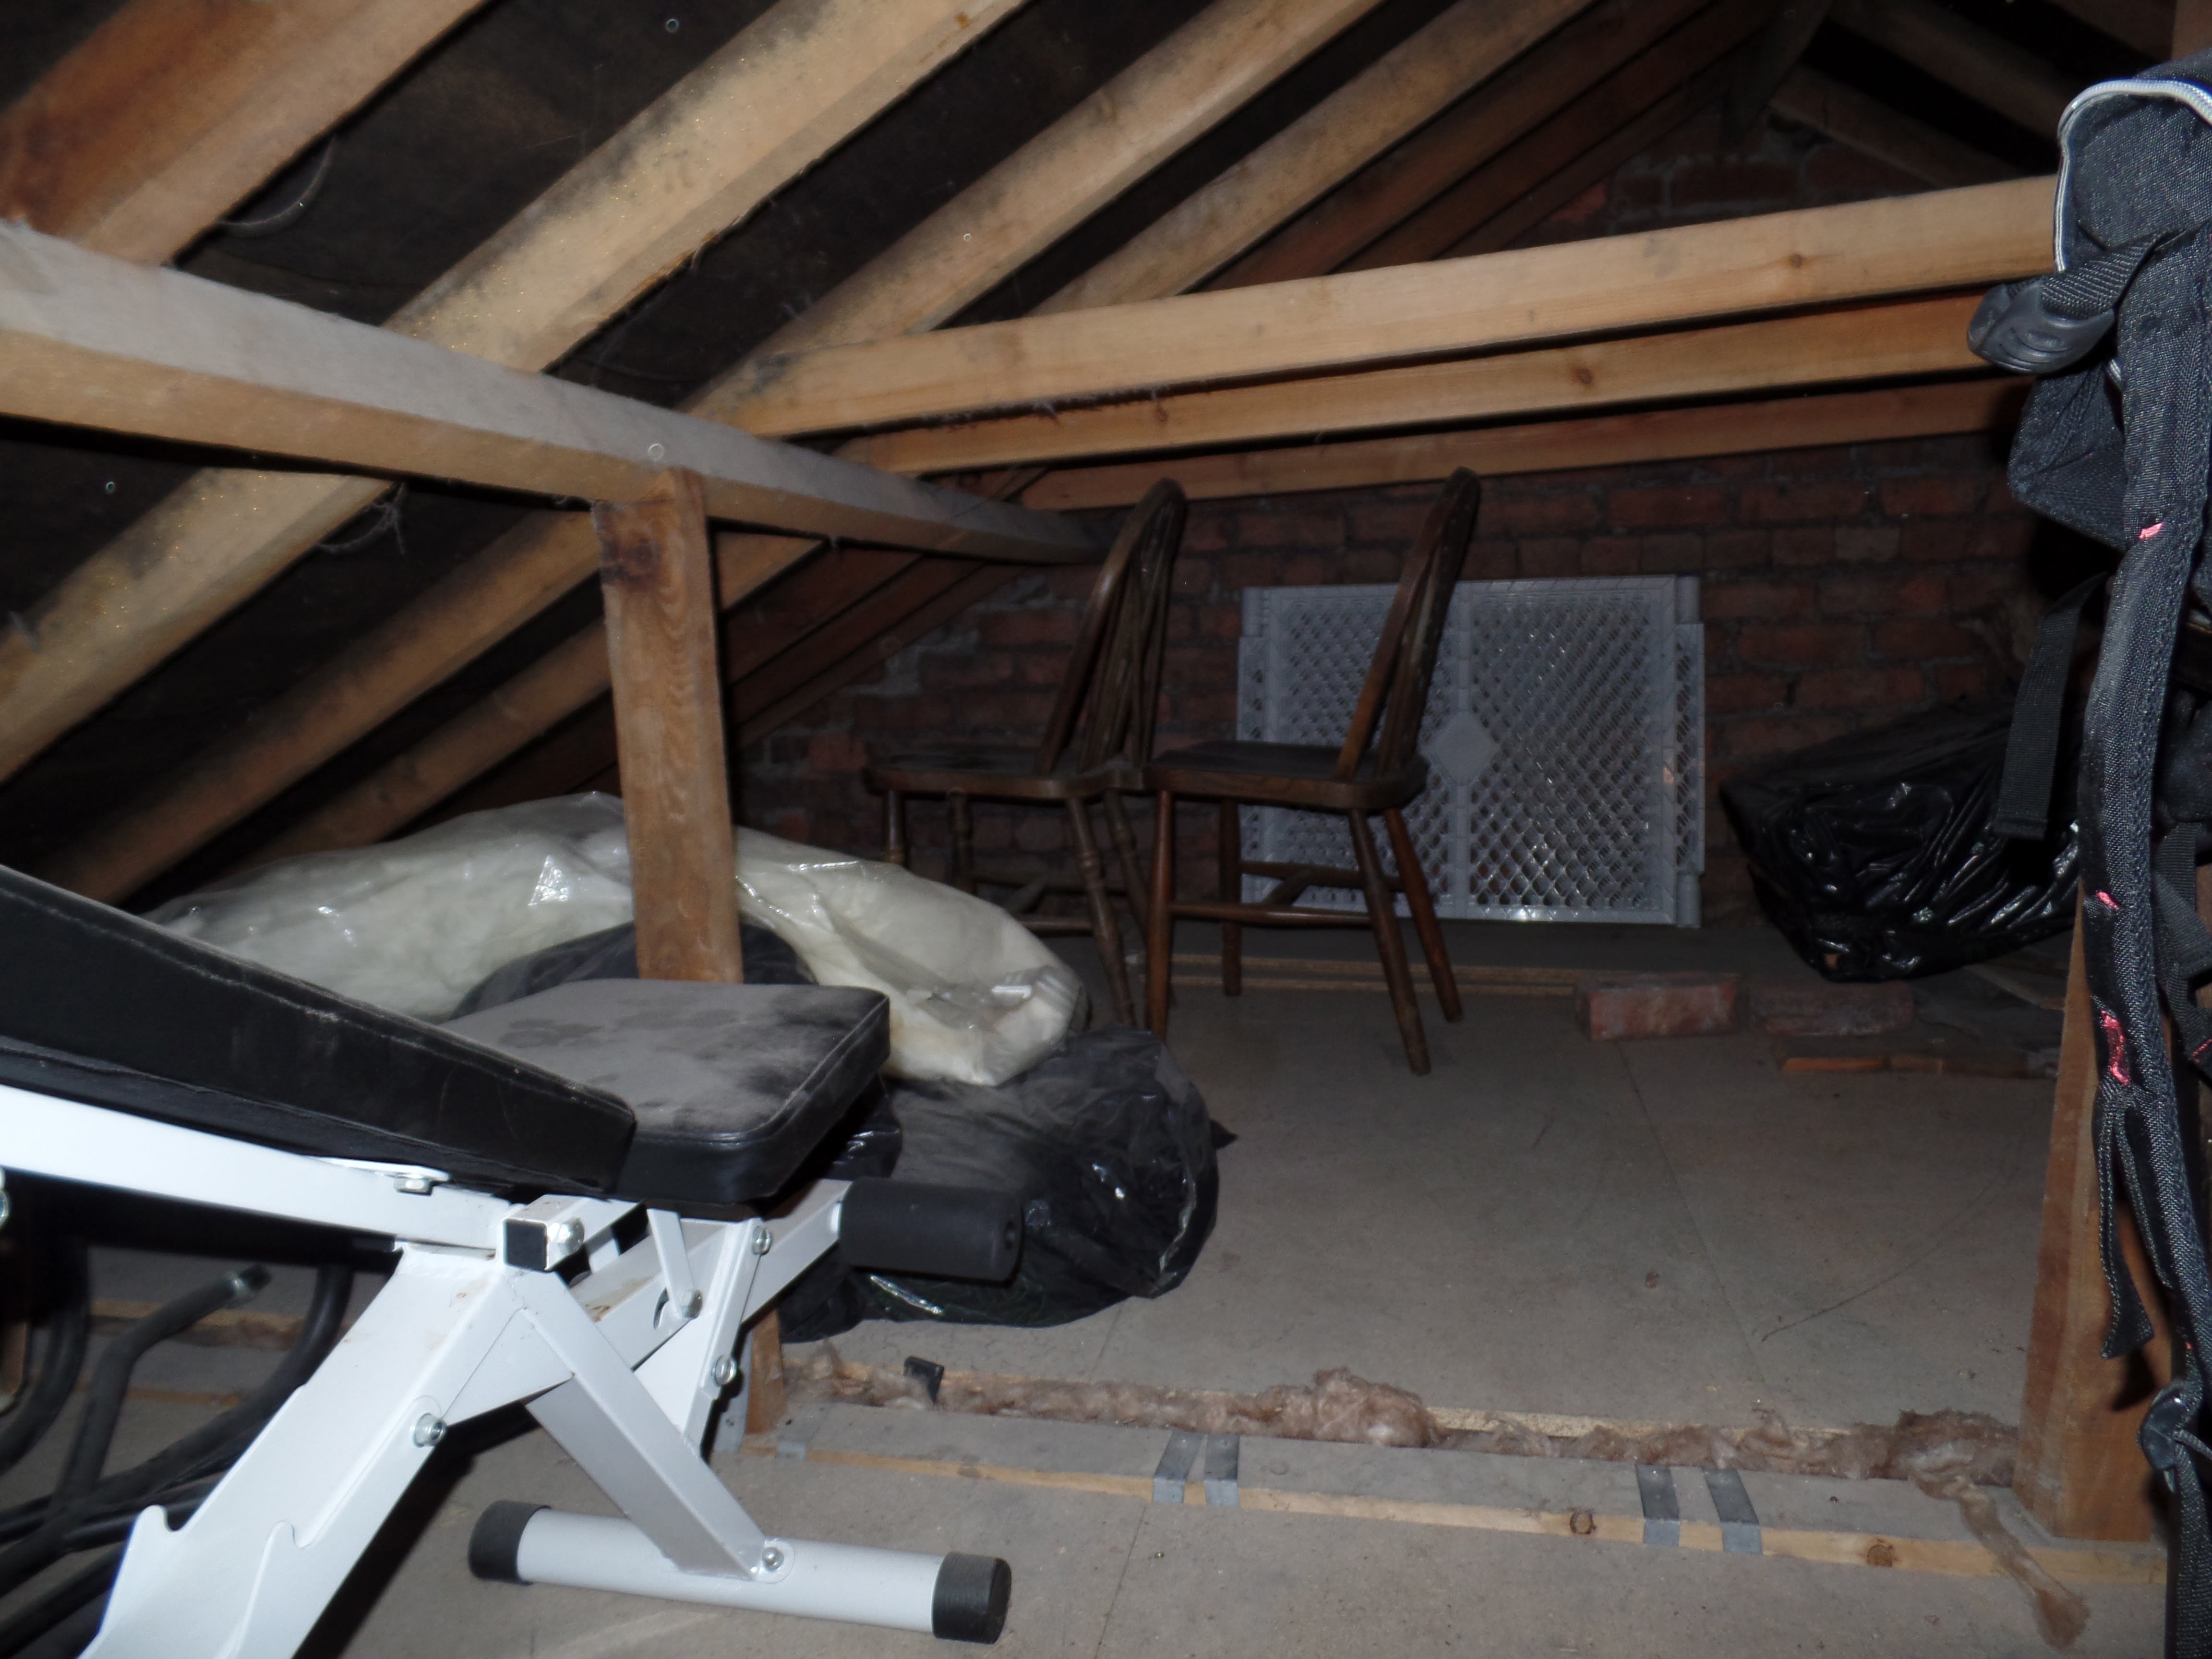
You’ve clambered up into the roof void, the attic. What’s the function of those wooden planks and what problems are associated too?

Unless it’s a flat roof, the upper most board that normally runs across the top is the ‘ridge board’. This is the apex or peak of the hipped roof.

Then running from this ridge board to the walls are the rafters. These are normally 3”x 2” in Victorian housing; in the 1930’s, the thickness was increased to 4”x 2”. Yes, imperial measurements, not metric, in those days!

The rafters have to span half the width of the house, so they are normally supported mid span by a large timber called a purlin. This stops them bowing or sagging under the weight of the tiles. We have seen purlins as thin as 4” x 3” in some properties in Gloucester Road and St George. With better quality Victorian housing, say in Fishponds, they can be up to 9”x 3”.

These are often supported mid span by a diagonal brace (called a strut) to take the loading (weight) to the central spine, the load-bearing wall in the middle of the property. Otherwise, the strut may be fastened onto binders. These are timbers spanning across between the load-bearing walls to stop the purlins bowing.

If you have read our blog on Pitched Roofs, you will know about ‘roof spread’. Sometimes even these reinforcing  arrangements were not enough, or have been removed, so additional struts were also used,  sometimes with collars. These struts run between the rafters just above the purlins, to give triangulation to the structure.This sends the weight loading down to the load bearing walls at 90⁰, preventing them from spreading and pushing the tops of the walls outwards.

Types of Roof Structure

Before the 1960s

Before the 1960’s, most roof structures were of traditional cut timbers, sometimes called “carpenters’ roofs”. As it sounds, each length of timber was measured and cut by hand, then lifted into place and secured with nails.

There were various designs of roof around during the Victorian era.  Inverted or Butterfly roofs were very common in Totterdown and Easton.  These have a central valley running down the middle to take rain water away so are prone to leakage. The structure is often problematic and cannot be inspected from the ground. These must be inspected from a pole camera or ladder. The valleys were supported by a ‘roof plate’ underneath. This was a substantial timber running under the valley from front to back.  These roof plates have often deformed under the weight of the tiles and water ingress issues have often caused decay. These roof styles stopped being used at the beginning of the 1900’s.Such roofs cannot easily be converted to habitable space as they have limited headroom.

In the 1930’s, usually in end of terrace houses or semi-detached properties, the sloping hip timbers run to the external walls.This hip is supported by a hip board or timber and the cut rafters around it are called jack rafters.

From the 1960s

Around the 1960s trussed roofs started to gain in popularity. They incorporated the rafters, ceiling joists and bracing into a large triangular structure. These were manufactured off site and craned into place.  Then they were fastened using gang nail plates to fix the joints together. They were quick to install and were cheaper in comparison to cut roofing as the skills required were less.

The early trussed roofs did have problems with gang nail plates rusting and failing; some properties in Horfield have exhibited this.  Such rusting is often made worse by condensation in the loft voids. The triangles sometimes tilted when installed and may not be straight and true. When some roof failures in the 1960/70’s were attributed to the domino effect of the trusses falling over, diagonal bracing became part of the Building Regulations requirements. The trusses then also had to be secured to the gable-end walls using metal straps to hold the structure together.  These are often missing in early examples of this type of roof structure and should be retro fitted.

Ceilings

Ceilings

Ceilings are made from a variety of materials and each has different associated problems!

Did you read our blog on inspecting lofts and venture into the loft space (wearing a PP3 mask)? If so, you might be able to lift the insulation and see the type of ceiling material below.

Lath & plaster

Lath & plaster ceilings were used extensively pre 1940. They comprise wooden laths coated with various layers and thicknesses of plaster.  The plaster may contain ash, horse hair and lime.

While working for many leading insurance companies, we have inspected countless collapsed lath& plaster type ceilings.Lath & plaster can and will eventually fail. It happens in the most expensive houses which have decorative cornices that run into thousands of pounds to replace in a single room. It also happens in pre 1930 council houses.  Famously, the ceiling collapse at the Apollo Theatre in London in 2013 injured over 70 people. Such ceilings are seldom used now except in restoration work in listed buildings.

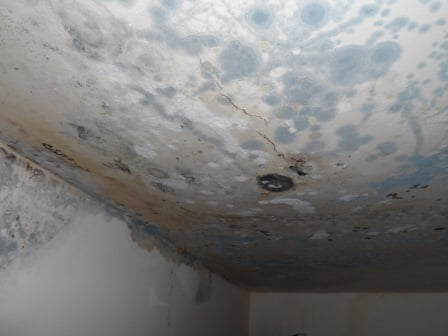
These ceilings are very thick,  normally around 20mm. The tell-tale signs of failure are cracking, an undulating surface and sagging. Finishes such as lining paper tend to mask such cracks but the undulations are easy to see.   Sagging suggests that the plaster has detached from the wooden laths above.  The cracking is not inregular, straight lines -it is normally diagonal and irregular.

Removing such ceilings is a very dirty job!  And it is a real challenge to save any ornate cornices running around the perimeter of the room. This dusty job is often expensive as few want to undertake this work.

Sometimes you can deal with lath & plaster ceilings by underboarding them. Underboarding is screwing a layer of plasterboard beneath the lath & plaster to support it. This is an inexpensive repair but will lower the ceiling height and you will lose any cornicing.

Hardboard

Occasionally in the 1950’s and 60’s, ceilings were constructed from thin sheets of hardboard, ie reconstituted timber. It is normally fairly easy to spot these from underneath, as they have tape over the joints of the boards. This gives the ceiling a grid like type of pattern!

Plasterboard

Since the 1940’s, ceilings have been constructed of uniform boards of gypsum known as plasterboard. These boards have a long service life.In the early days, when plasterboard was first used, the joints were not taped with a netting scrim. Hence minor thermal movements and stress cause straight line cracking, sometimes at right angles.  When this is the case, the joints can be taped  over and the ceiling skimmed. Sometimes nail pops are evident. As long as these are repaired properly (not just covered in filler) they are unlikely to re-appear.

Polystyrene tiles

These were most popular in the 1970’s. They were often used to disguise cracking or damaged ceilings. However, they are a fire hazard as they were not intumescent .  If they catch fire, they can rain molten polystyrene,  a scary image! These should be removed as soon as practicable. While removing the tiles is fairly easy, the plaster beneath will probably be damaged as a result. The spots of glue are also very hard to remove. So allow costs for the skimming often required after removal.

Timber cladding

Timber cladding was another old favourite. These are strips of tongue-and-groove wood and hence are flammable. So they can pose a risk, especially if they are used in a Kitchen. The cladding is not fixed direct to the ceiling; it is often nailed to timber battens which are screwed through the ceiling.  Removing  these will disrupting the finish beneath. Hence you should only undertake this if you are willing to plasterboard and skim the ceiling beneath.

Artex

Artex has been used since the 1970’s, an applied finish with various patterns from stipple to swirl. It was sometimes used on plasterboard instead of a skim, so the characteristic straight line cracks, often with right angles, are very common. Patching Artex satisfactorily  is very difficult and the repairs always seem to be obvious.  Hence when a section is damaged, it is often better to simply skim over the entire ceiling.  However, Artex applied prior to 2000 can sometimes contain traces of asbestos so scraping off the more pointy bits can be hazardous. If such ceilings appear damaged, then it is always best to have tested  it prior to purchase, because  removal of a medium size asbestos-containing ceiling costs around £800.00. And you will still have to replace the ceiling!

Windows and Doors

domestic surveys

Windows and Doors

Windows form a large part of a building and give much of its character! They let in light but they are vulnerable to breakage, accidentally or deliberately. They can usually be opened for fresh air but  can be a security risk. Hence they need to be lockable with a key, to be “approved” by insurance companies. They can also allow heat to escape from the building.

On a viewing, you can easily see whether window locks are present . Again, doors need to be provided with locks that are approved to a BS standard.

Window Frames

The simplest test to tell whether  new frames are required?  Open and close the windows in every room whilst you are viewing. This will take minutes to perform but will indicate the likelihood of a bill for replacement – from £400 per window depending on the size. Yes, even on newer builds – as one minute into this video of our surveys in Bradley Stoke shows! https://youtu.be/1FENY2nJ24Y

There are many shapes and sizes of window, in a variety of materials. Genuine Georgian windows had small panes because glass was difficult to make. The Victorians found new methods of firing glass and so large panes, often in sash windows, became fashionable.

Wooden Frames

Into the 1960s, window frames were made of wood.Older timber frames do offer good thermal performance and can give a long service life, assuming careful maintenance has been carried out. However, they are prone to decay. Sometimes decay is visible as rotting wood. Sometimes fillers have been used. Don’t be afraid of gently prodding, to test the timbers. The filler often looks smoother than the surrounding timber.

Metal Frames

In the 1960’s, steel window frames were sometimes installed, often known as Crittall after the manufacturer. These are normally single glazed with very thin frames. Use a magnet to tell if the frames are steel.  These frames perform very badly thermally and normally have a good coating of mould to show that. These should be replaced.

Aluminium frames were used in the 1980’s. These are lightweight and do not rust. They may have a small brown-coloured layer sandwiched in their construction.  This acts as a thermal break to prevent condensation. If this is not present, replacement is certainly necessary.

As this older double glazing was a lot thinner,  replacement is normally required anyway as it is not feasible to upgrade the glass.

UPVC Frames

The early forms of UPVC were often single chamber or extruded solid plastic,hence  older UPVC windows often do not perform well thermally. Newer UPVC windows have multiple extruded chambers. These act as thermal pockets to make sure that they insulate the interior from the outside world. Combined with e-coatings, this gives one of the best performing arrangements available for the cost.The viable life of UPVC window frames is generally reckoned as 25 years.

Since 2002, new window installations should be “self-certified” by FENSA or CERTAS or in some instances Building Control will sign them off.

Ask the vendor or agent when the windows were last replaced.  Are there any guarantees? If 2003 or later, ask if the relevant certifying  documentation is present.

Glass

Single glazing is simply a single pane of glass.If this is the case, it usually indicates considerable age of a window installation. They allow a large amount of heat to leave the building and sums for replacing them should be budgeted. The reduction in heating bills should eventually pay for this alone!  Large panes of glass can also be dangerous if unmarked.

Depending on the age of the installation, double glazing may be e-coated and toughened.  We use some very special laser equipment to determine if this is the case,as can be seen on this link https://youtu.be/3fsDmGnaJjY . You will not be able to do this yourself, so look for the basics. Is there moisture (often looking like raindrops) in between the double glazed panes? If so, the seal to the double glazing has blown. These can seldom be repaired effectively and replacement is then required. This seal failure can often be as a result of pressure from the masonry, so look around these areas for cracks or distortion of the walls.

Doors

Again, doors may be timber, metal or UPVC, with or without glazed panes. The frames can warp, the locks can be ineffective. The hinges can sag. Replacement UPVC doors can cost upwards of £500, much more for French doors or bi-fold doors.  So do make sure you check them by opening and closing them.

While antique glass in doors, particularly entrances and hallways, is very attractive, it can be a safety hazard. It is unlikely to be toughened so is easily damaged by impact. If you have small children, do bear this in mind!